Mechanic / Axe / Intermediate
Learn how to disable shields with an axe, choose the right timing, avoid shield baits, and convert the cooldown into crits, combos, or pressure.
AxeIntermediate13 min readJavaVerified Aug 18, 2026
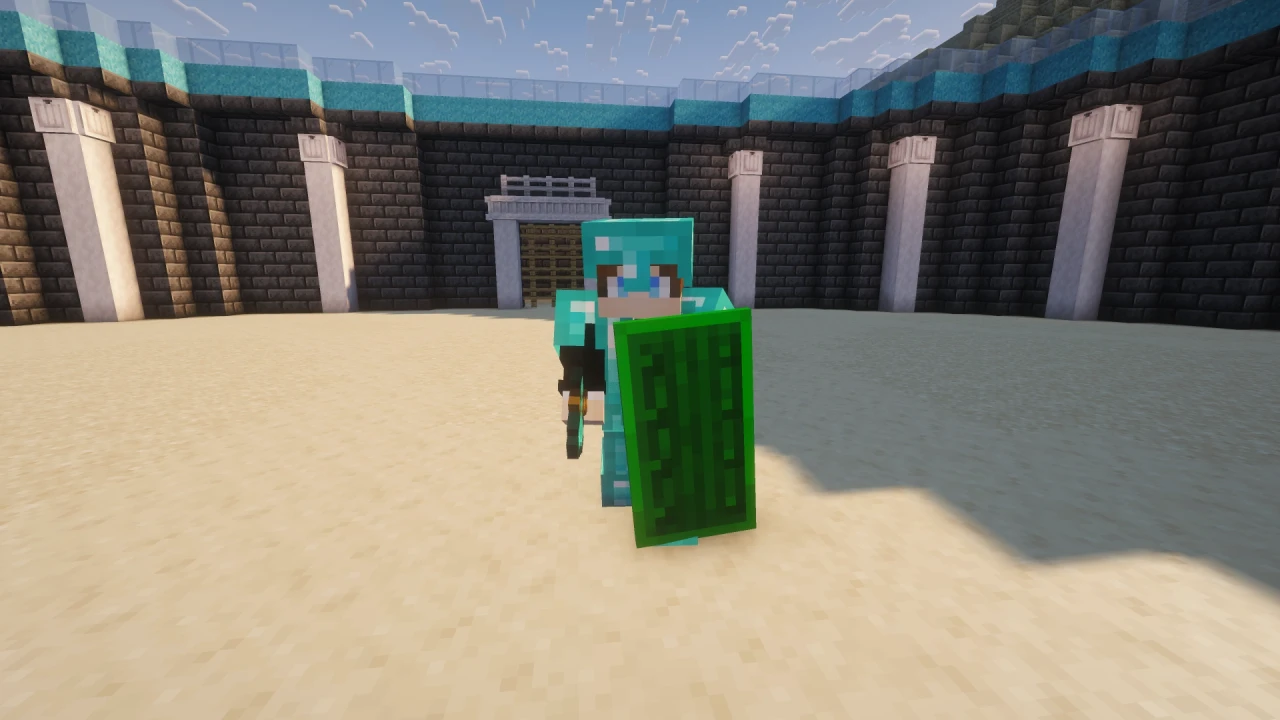
Disabling a shield is easy.
Winning the next few seconds is the part that matters.
A clean axe hit can remove the opponent's shield from the fight temporarily, but the disable itself does not deal the follow-up damage for you. If you knock the opponent too far away, get baited into pulling out your axe, or hesitate after the shield goes down, most of the advantage can disappear before you use it.
The basic idea is:
Read the block → disable → preserve your position → convert
The better you get at Shield Disabling, the less it becomes about reacting to a shield and the more it becomes about controlling what happens immediately afterwards.
An axe can disable a shield when the shield is actively blocking the attack.
In vanilla Java, the shield then enters a five-second cooldown where it cannot be used. The shield is not destroyed and its durability is not what creates the opening — the important part is the temporary cooldown.
That gives you a large offensive window:
Shield up → axe connects → shield disabled → opponent loses their block
Modern Java also checks whether the attack was actually blocked. If you hit from an angle where the shield does not reduce the attack, you are bypassing the block rather than disabling it through the shield interaction.
That creates an important difference:
Hit the active shield from the front → disable
Get around the blocking angle → bypass the shield
Those are two different solutions to the same defensive problem.
Do not ask only:
“Can I disable the shield?”
Ask:
“What happens after I disable it?”
A technically successful disable can still be bad if the opponent is already far away and can simply run while you spend the entire cooldown chasing them.
Practice this on MCTrainer
Open the matching training or platform area while this guide is fresh.
Related guides based on the learning path, explicit relationships, and matching topic metadata.
The strongest disables usually happen when you can immediately stay involved in the fight.
Good situations include:
Imagine two disables.
In the first, you hit the shield from maximum range and the opponent immediately creates distance.
You got the disable, but now you have to chase.
In the second, you disable while almost directly on top of them and instantly switch into your Sword.
Same mechanic.
Completely different value.
Reactive Disabling is the simplest version and the one you should learn first.
The opponent raises their shield.
You recognize the active block, switch to your axe, disable it, and immediately return to the weapon you actually want to fight with.
See block → Axe → disable → switch back
The key is that the axe should feel like a short interruption in your normal fighting sequence.
You do not want to spend several seconds standing in front of the opponent with the axe selected after the job is already done.
Hotkeys make this much cleaner than slowly scrolling through the hotbar.
Your attention should stay on:
Not on your hotbar.
There are two common ways players approach the actual axe input.
The simpler method is to pull out the axe and click until the shield disables.
It is easy to understand and can feel safer while learning because you are not relying on one perfectly placed input.
The problem is what happens after the first successful disable.
The shield drops.
If you keep clicking, the next axe swing may now hit the player instead of the shield.
That can leave you with:
A cleaner disable uses one intentional axe hit.
Axe → one disable → immediately move into the follow-up
The goal is not to hit the shield as many times as possible.
The goal is to remove it with as little disruption to the next part of the fight as possible.
| Method | Advantage | Main problem |
|---|---|---|
| Spam Disable | Easier while learning | Can create unnecessary extra axe swings |
| Single-Click Disable | Cleaner spacing and faster conversion | Requires better recognition and confidence |
Neither method makes you automatically better.
But once you can reliably recognize an active shield, reducing unnecessary axe inputs gives you much more control.
Reactive disabling begins after you see the shield.
Prediction begins before it.
Players often develop blocking habits.
An opponent might regularly shield:
Once you notice the pattern, you can stop being surprised by the shield.
Instead of:
Shield appears → think → Axe
you can reach:
I expect the shield here → Axe is already ready
This can make a disable much faster and gives the opponent less time to react to your weapon switch.
Prediction is especially useful when the opponent is using their shield to answer the same situation repeatedly.
If every aggressive jump makes them block, the jump itself becomes information.
But prediction has a weakness.
The opponent can start using your expectation against you.
That is where Shield Baiting begins.
A shield does not have to stay raised.
The defender can briefly show it, make you switch to your axe, then drop the shield and punish your commitment.
The sequence looks like:
Shield up → you swap Axe → shield down → opponent attacks
You reacted correctly to what usually means “disable me,” but the opponent never intended to sit behind the shield.
This is why blindly pulling out the axe every time you see a shield animation becomes predictable.
Good Shield Disabling is not purely mechanical.
There is always a small decision behind it:
Are they actually defending, or are they waiting for me to react?
This is the most important part of the mechanic.
Once the shield is down, stop thinking about the shield.
Think about the opponent.
You now have a limited period where one of their strongest defensive options is unavailable.
Use it.
A common sequence is:
Disable → Sword → sprint hit → continue pressure
If the first Sword hit creates a combo opportunity, Sprint Resetting becomes useful for controlling the spacing of the following hits.
The disable opens the defense.
The Sword turns that opening into pressure.
Do not stay on the axe simply because the axe created the opening.
Sometimes you do not want to knock the opponent far away.
If you are already close and can keep them there, the better conversion may be:
Disable → stay close → crit pressure
This is where clean Single-Click Disabling becomes valuable.
Extra movement and unnecessary axe swings can push the opponent away from exactly the position you wanted.
Shield Disabling is also important in Mace PvP because a shield can deny extremely valuable incoming damage.
A fast disable can therefore become the first half of a Mace setup.
Techniques such as Stun Slamming build on this idea, but they deserve their own guide rather than turning Shield Disabling into a full Mace tutorial.
It is easy to become obsessed with how much knockback your disable creates.
That is usually the wrong goal.
The shield cooldown is valuable because the opponent cannot block.
Every second you spend chasing them is a second where that advantage is disappearing.
Imagine you disable someone and send them far enough away that you need to sprint after them before you can attack again.
The disable worked.
The conversion did not.
Sometimes the better result is to keep the opponent close enough that you can immediately pressure them after the axe connects.
This is one reason more advanced disable setups focus heavily on movement and knockback control.
They are not trying to make the axe look stronger.
They are trying to keep the next attack available.
You do not always need to fight the shield directly.
If you have already moved around the opponent's blocking angle, you may be able to hit them from the side or behind instead.
So the decision becomes:
Active shield between you and the opponent → disable
You already have the angle → take the hit
A bypass gives you immediate damage.
A disable gives you a longer window where the shield cannot return.
Which one is better depends on the position.
Do not perform an unnecessary axe swap when you already earned the angle.
A Shield Stun is not simply another name for Shield Disabling.
The disable is the base mechanic.
A stun is a competitive setup built around that disable.
The usual goal is to remove the shield while also protecting your follow-up position.
A basic disable can sometimes end like this:
You disable → opponent immediately answers → you get knocked away
A stun setup tries to create something closer to:
You disable → opponent's response is limited → you stay close → follow-up
Different PvP communities use names such as:
The exact input and follow-up behavior can depend on the server you are playing on.
PvP servers can change combat handling, so do not assume a stun timing recorded on one practice server will reproduce exactly on untouched Vanilla.
For this guide, the important idea is why stuns exist:
They try to make the disable easier to convert.
The individual stun variants should be learned after you already understand normal Shield Disabling.
Advanced PvP also uses very fast item switching around shield interactions.
This overlaps with Attribute Swapping.
In Java 26.2, fast swap behavior around Attribute Swapping remains version-sensitive. Mojang has already indicated that unsupported swap behavior may change again in future versions.
That means a normal axe disable should always be understood separately from advanced swap techniques.
A normal disable is the core mechanic.
Fast swaps are an additional execution layer.
The same logic works against you.
Once your shield is disabled, repeatedly trying to raise it will not solve the problem.
Your priority changes.
You need to survive the opponent's conversion.
That usually means creating space, changing the angle, using terrain, or forcing a trade that prevents the opponent from freely chaining damage.
Do not stand still and wait for the shield to return.
Treat the cooldown as a temporary change in your available defensive tools.
If the opponent wants to stay directly on top of you, make them work for that position.
If they want a Sword combo, disrupt the spacing.
If they want close crit pressure, create distance.
Understanding Shield Disabling from the defender's perspective also makes your own offensive disables better, because you begin predicting what the opponent will try immediately afterwards.
You successfully disable the shield but continue holding or swinging the axe.
Fix: Know your follow-up before you disable and switch immediately when the axe has finished its job.
The shield goes down, but the opponent can simply run while you chase.
Fix: Look for disables you can convert from your current distance.
Your extra axe swing hits the player and ruins your spacing or attack rhythm.
Fix: Move toward cleaner Single-Click Disables once you can recognize the shield reliably.
You switch to Axe every time the opponent briefly raises the shield.
Fix: Read whether the opponent is actually committed to blocking.
You send the opponent so far away that the shield cooldown gets spent on movement.
Fix: Value follow-up distance more than impressive knockback.
You get the disable, then hesitate.
Fix: Decide before the axe hit whether your conversion is Sword, crit pressure, Mace, or repositioning.
You react to the item instead of the opponent.
Fix: Watch their blocking patterns. Prediction and bait recognition matter as much as your hotkey speed.
Do not start with stuns.
Do not start with fancy swap techniques.
Start with:
Active shield → one axe disable → immediate weapon switch
Repeat that until the sequence feels boring.
Then add the follow-up:
Shield → Axe → disable → Sword → first hit
Do not care about a long combo yet.
Judge the attempt by three things:
Once that becomes consistent, make the opponent less predictable.
Practice against someone who sometimes blocks and sometimes drops their shield.
Now the exercise is no longer:
Can I hit a shield with an axe?
It becomes:
Should I commit to the disable?
That is the skill you actually need in a real fight.
McTrainer has a dedicated Shield Break mode in its Melee training group, so this guide also has a natural practice connection inside the platform.
You do not need to disable every shield you see.
Sometimes another decision is better.
Do not force the axe if:
The existence of the shield does not automatically make the axe the correct answer.
Strong Shield Disabling is selective.
You want the disables that turn into something.
Shield Disabling starts with a simple interaction:
Active shield → Axe → disable
The useful version is:
Read → disable → preserve position → convert
Remember:
The axe removes the shield.
Your positioning decides whether that actually wins the exchange.
Learn how to intentionally take the first hit, time your return hit during knockback, and turn the exchange into your combo.
